Operation heat! Replacing under-seat heat ductwork
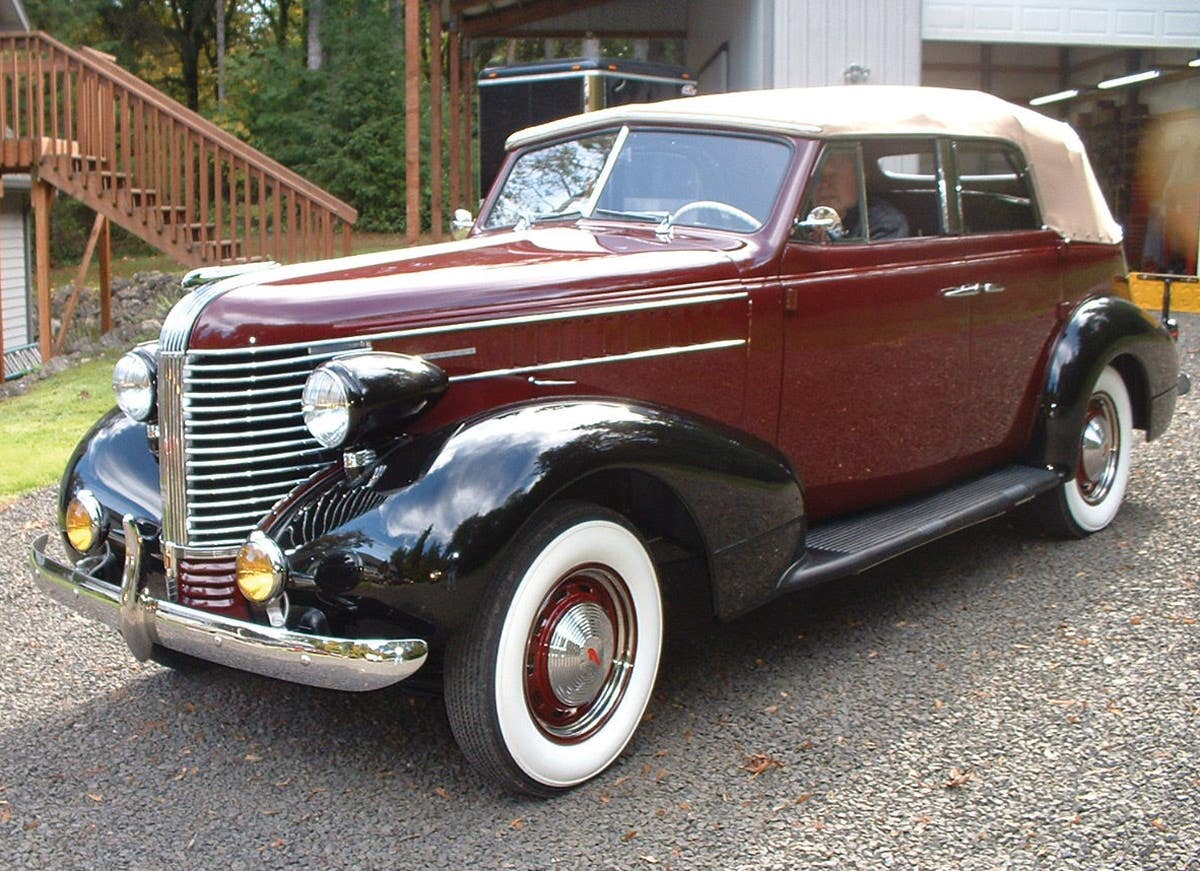
Replacing the rotted heater ductwork for a 1948 Pontiac Streamliner and 1953 Catalina.
A cut-off tool was used to do surgery on the aluminum
clothes drier ductwork.
Cleaning up chassis parts on an old car is not fun, but it’s something anyone can do. Even without special equipment, one can use a hand-held wire brush or a wire wheel on an electric hand drill to remove loose, scaly rust and then coat the chassis parts with Eastwood Rust Encapsulator paint or with POR-15. The spray-on Eastwood Rust Encapsulator is easier for a novice to use, but the POR-15 works extremely well, so it’s a toss-up on those products.
No Heater Ductwork
In our case, we had an ulterior motive for digging into a chassis clean-up. The 4-inch-diameter corrugated fabric heating duct work on two old Pontiacs (1948 Streamliner and 1953 Catalina) had rotted away years ago, and we did not have a functioning heater system because of this. The duct work is used to carry the warm air to each car’s under-seat heater. Not having the duct work intact led to some cold fall touring in Wisconsin and gave us a good reason to clean up under the car.
We spent years looking for the correct 4-inch duct work material and had no success finding it. As luck would have it, we stumbled on it recently, but let’s save that for the “rest of the story.” Friends had told us we could buy the duct work at NAPA. We probably can, but the counterman there had no idea what we were talking about. Finally, someone said, “Why don’t you use a 4-inch aluminum clothes dryer ducting painted black?” Indeed, why not? So that’s exactly what we did.
Chassis Clean-up
The car we fixed first was the 1953 Catalina. With it raised on the Backyard Buddy four-post lift, we could get at the frame rails and heater ductwork pretty easily. The ductwork connects to 4-inch tubing sections and these connect to an elbow that passes through the frame. Originally, a rubber sleeve ran between the elbow and the heater box under the car. There were also sheet metal shields that protected the underside of the car from flying debris and supported the ductwork in spots. The fabric and rubber parts were either in bad shape or missing. The sheet metal parts had some surface rust and also a few spots where there was rust-through.
Part of the reason for the rust was that the car had been undercoated, apparently when it was restored and repainted. Aftermarket undercoating will give protection for awhile, but if it flakes off, then moisture can actually get trapped beneath the undercoating. Apparently, this occurred with the Pontiac, so we wanted to remove the old undercoating, clean things up and just paint the frame rails and sheet metal parts of the heating system.
Undercoating Removal
Removing the bulk of the undercoating is not easy. Where there is rust underneath, it will flake or peel off, but in other spots, it will stick like glue. Eastwood sells a spray-on product called Undergone that does a good job of softening up rubberized undercoating — the type that can be pushed in with your thumb. It loosens the undercoating bond so the undercoating can be scraped off with brushes and blade-type scrapers.
Our favorite tool for this is what we call our “gnarly brush.” This starts off as a flat brush with bristles, but winds up looking like a steel wool pad with a handle after being used a few times. It seems like the uglier it looks, the better it works. Even with the gnarly brush, dry patches of undercoating are hard to scrape off.
Elbow Room
We had to leave room in this project to clean up the elbow, which actually had a few spots of rust right at the edge. Any holes would allow heated air to escape, so they had to be fixed. We wire brushed the worst area until only good metal remained. Then we filled over the holes with Eastwood Metal 2 Metal. This is a waterproof fiberglass filler with aluminum particles in it. We have used it before for patching small holes and find it easy to apply, easy to sand and good for long-lasting repairs with little hassle.
After the tiny holes in the elbow were filled, it was sanded and coated with gray primer. We then sprayed it black. A sleeve to replace the original rubbery sleeve between the elbow and heater box was made from a black antifreeze container turned inside out and stapled together. Using trial and error, we made a paper pattern first, then cut the plastic container. A heavy-duty stapler was used to stitch up the seam. It was not easy to get the lip of this sleeve over the edges of the elbow and the heater box opening, as the plastic wasn’t as flexible as the original rubber. We had to pass the sleeve through the slot in the frame rail to get it on the heater box and then “plug” the elbow into the outer end of the sleeve.
Duct ‘Work’
Following the illustration from the 1955 Pontiac Master Parts Catalog, we closely estimated the length of the ductwork and cut the aluminum dryer tubing to fit. A cut-off tool was used to do the “surgery.” Then, we roughed the outer surface of the aluminum up with sandpaper and painted it black. The final step was to clean, paint and re-install all the brackets and under-car shields.
It was nice to have heat again, when taking rides on cool winter days. There is nothing like the felling of those underseat heaters in my old Pontiacs.
The Rest of the Story
At the end of November, I was at the Chevy Vettefest in Rosemont, Ill. I could not help noticing a piece of factory-style 4-inch corrugated heater ductwork sitting on one of the product display shelves at Corvette Central. It was exactly what I had been looking for the past few years!


