Saving ol’ paint: Handle with care
Part nine of the 2010 Old Cars Weekly Restoration Series
By William C. “Bill” Anderson, P.E.
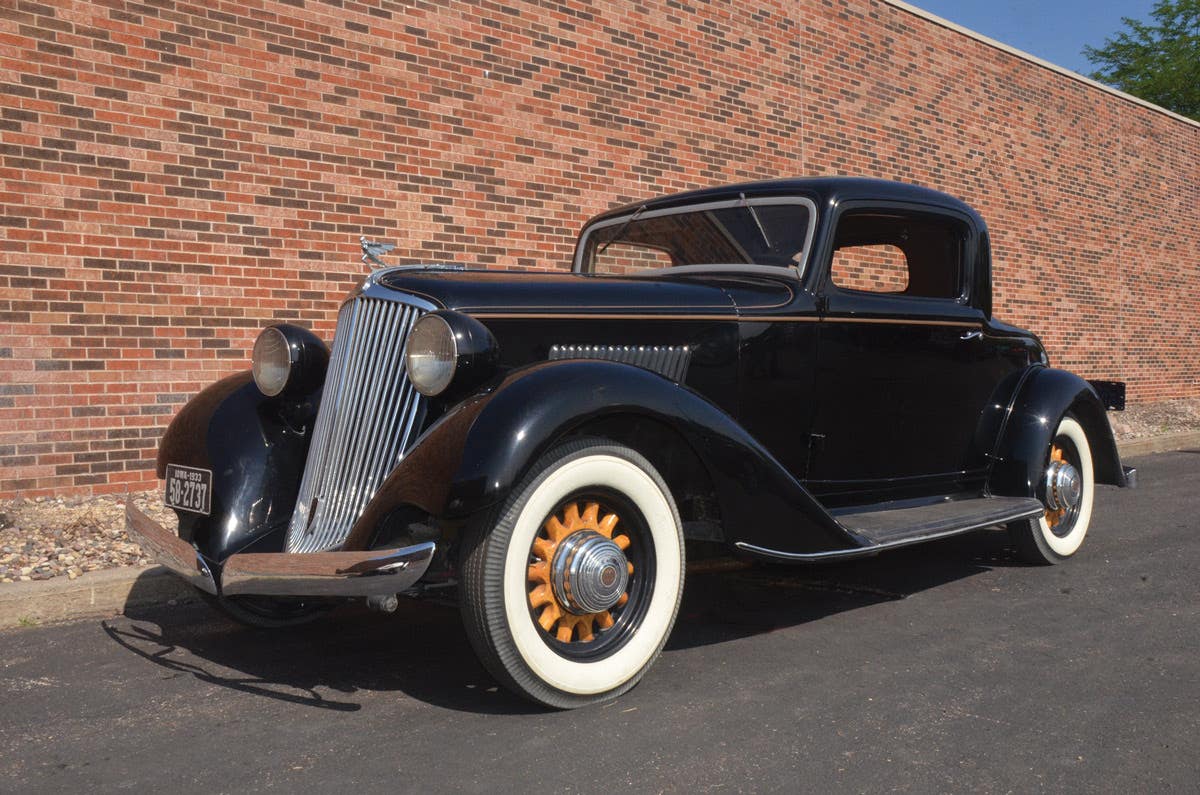
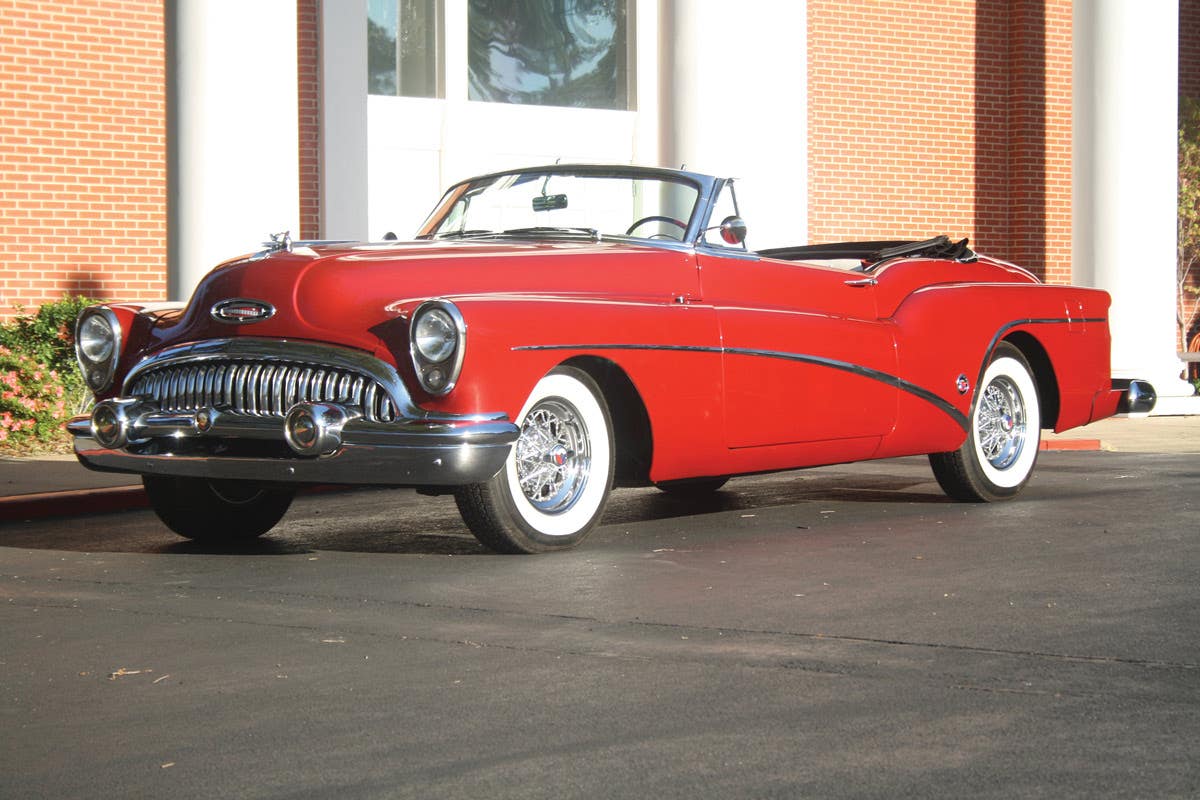
No, this article is not about saving the painted pony in your pasture. Although in some ways, the gentle care required for an old horse is applicable to the focus of this series — saving the original paint on your collector car. With the rising interest in the last few years in collector car circles for original cars, restoring the original finish can significantly improve the car’s appearance and enhance its value.
By restoration, I’m talking about restoring the shine to the original finish, not fixing scratches or chips about which I wrote a few years ago. Nor, can the methods described in this article address cars where the original finish has failed and is cracking, checking, pitting, etc.
Restoring an original finish begins with determining the thickness of the paint remaining. Paint thickness is easily determined with a paint thickness gauge (see photo above). This gauge is magnet connected with a spring to a graduated cylinder. The spring and magnet are calibrated so that as paint thickness decreases, thereby increasing the magnet’s attraction, the graduated cylinder moves farther out of its holder.
There are more sophisticated instruments for measuring paint thickness, but this simple gauge provides sufficient accuracy for this purpose.
Carefully survey the entire car with the gauge. It is to be expected that paint will be thinner on ridges and edges. Typically, a new car will have six to eight mils total of paint, of which two to three are primer. Depending on the age of the car and the extent of polishing by prior owners, the finish may be four to six mils thick.
A couple of mils to work with is the reason I earlier mentioned the need for careful work. If the paint gauge reveals 10 plus mils, the car in all probability has been repainted and is not the original finish. If the gauge won’t stick to a spot, it is a good indication that some “bondo” is lurking behind the paint.
For the restoration, three different compounds are required for dark colors; light colors can get by with two. I prefer 3M products, although equivalent grades by others should obtain the same results. These compounds are (1) rubbing compound [3M #6085 or #6062], (2) swirl mark remover [3M #6064] and (3) ultra fine swirl mark remover [3M #6068].
These compounds are not like the rubbing compounds of old that exhibited a gritty feel when rubbed between a finger and thumb. Although these compounds do contain polishing ingredients, these ingredients cannot be felt in the finger and thumb test.
Finally, a machine is needed to power the pads. I prefer a 3-inch diameter, air-powered rotary buffer (such as Chicago Pneumatic 7201P) for restoring original finishes because of the increased control it provides by virtue of its size and variable speed. When I’m confident about the paint thickness and am working on a large flat surface, such as a door side, top, etc., I’ll use a typical 8- or 9-inch rotary buffer. I also use the large buffer with the blue foam pad as the blue foam is sufficiently new that a 3-inch diameter version is not available.
To complement these compounds, three different grades of polishing pads are required: yellow foam for the rubbing compound, black foam for the swirl mark remover and blue foam for the ultra fine swirl mark remover. These pads increase in softness from yellow to black to blue. Also required are three micro-fiber polishing cloths to remove the compounds’ remains after polishing, one for each compound. It’s good practice not to use the same cloth to remove different compounds.
With all the materials at hand, the first step is to thoroughly wash the car to remove all dirt and any wax. Accordingly, a good quality dish washing soap is used instead of soap specifically intended for washing cars. This is followed by a good wax and grease remover, to remove road tar and similarly soluble contaminants. If there is tree sap or other contaminants, application of a clay bar according to the manufacturer’s directions should remove them.
Buffing can create quite a mess — the buffer will fling compound a considerable distance, even if you are careful. Therefore, I cover the car with plastic masking film (old sheets will also work) and expose only the panel on which I’m working. The sheeting is re-positioned as a panel is completed to expose a new panel and cover the one(s) just restored. Another preparatory step is to tape any ridges with masking tape to prevent the buffer from burning through the paint that is undoubtedly thinner in such areas than the rest of the panel. Taping is also recommended for panel edges unless you are experienced with buffer operation for the same reason. These taped areas are polished by hand using the same compounds and pads after the machine work is done.
William C. “Bill” Anderson, P.E., is an author, magazine editor, car show judge and professional engineer. A member of several car clubs, through Anderson Automotive Enterprises he restores and appraises cars.


